
What you’ll need:
TOOLS
- Hammer
- Roofing nail gun
- Ladder
- Pry bar
- Utility knife
- Chalk line
- Tape measure
- Tarp
- Roofing shovel
- Tin snips
- Caulking gun
- Cordless drill
- Circular saw
- Safety harness
- Work gloves
SUPPLIES
- Roofing nails
- Shingles
- Roofing underlayment (felt paper or synthetic)
- Drip edge
- Flashing
- Sealant or caulk
- Ridge caps
- Ice and water shield
- Roof vents
- Starter shingles
- Plywood (optional)
- Roof adhesive
Maybe you’ve noticed some broken shingles on your roof, or you’ve recently had a problem with leaks dripping from the ceiling. The elements can do a number on even the best of roofs, and the day may come when you need a roof replacement. While installing a new roof is a complex project that’s not recommended for a typical DIYer, it is handy to know how to replace a roof when you’re hiring a local roofing contractor to do the job for you. Here’s what to expect, from start to finish.
Signs It’s Time for a Roof Replacement
There are several signs it’s time for a roof replacement to keep an eye out for, especially if you have a roof over 20 years old. Here are some key symptoms of a roof that needs to be replaced:
- The roof’s life expectancy is coming to an end.
- You notice damage, like broken or warped shingles or cracked roof tiles.
- The roof is sagging or feels bouncy to the touch.
- The roof’s flashing, which protects against water leaks, is damaged.
- You have leaks or can see sunlight through the attic ceiling.
Prepping to Replace a Roof
If you plan to replace your roof on your own, prep work is key. Even if you aren’t going to tackle this massive project on your own, there are still steps you should take to get your roof ready for professional replacement.
First, review relevant local regulations to determine if you need to secure a permit before work on your roof begins. From there, you will need to coordinate with the roofing contractor on material delivery. You should choose a safe, accessible spot for delivery—preferably a garage or covered area to protect materials from weather.
You also need to clear the driveway or designate a space for storing materials, keeping in mind that some may be bulky or heavy. If the work will produce debris, arrange for a dumpster.
It’s also a good idea to inform your neighbors of the project, as it may cause noise or other inconveniences for them. Lastly, protect the interior of your home by covering items in the attic and removing wall decorations, as vibrations from the work can cause them to fall. These preparations help avoid delays, protect materials, and minimize disruption during the roof replacement.
How to Replace a Roof in 10 Steps
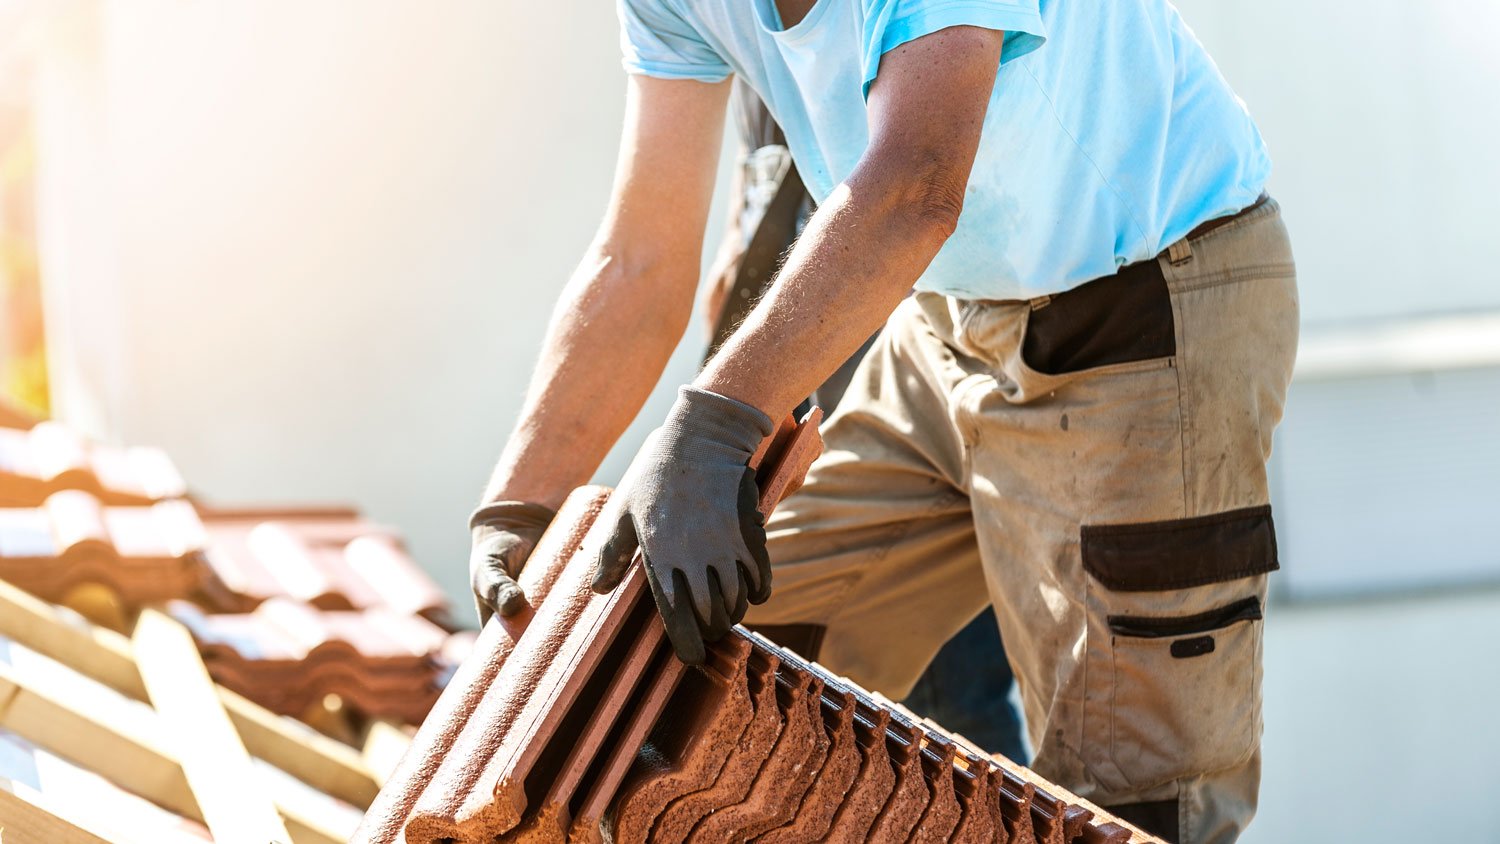
Photo: vitranc / iStock / Getty Images Plus / Getty Images
Replacing a roof requires several meticulous steps, but skilled contractors will be able to complete the work in as little as one day.
“When going through roof replacements many contractors have different ways to handle their replacements, however the steps mentioned here are followed by most reputable roofing contractors,” said Eric Gonzalez, Expert Review Board Member and Founder of Regions Commercial Roofing, Inc.
- Remove Old Roofing MaterialsWhile you can install new shingles over the old ones, this provides a less stable and secure roofing surface. Instead, the contractors will use a roofing shovel to carefully remove the existing roof material, then dispose of it in a roll-off dumpster bin. This is one of the most challenging parts of the job, so if you do have the skills for a DIY, consider hiring a pro for this step at a minimum.
- Make Repairs as NeededFor extremely old or heavily damaged roofs, the contractors may need to repair the frame or add new sheathing to give the new roof material a sturdy, long-lasting base. It’s never okay to simply cover up a damaged roof with new roofing material. This won’t fix the problem and will likely make it worse.
- Add the Drip EdgeYou may not need a metal drip edge, but this material will keep water from running on the fascia boards along the roof.
- Place the roof drip edge tightly against the fascia boards.
- Use roofing nails through the decking to secure the drip edge.
- Place roofing nails every 2 to 3 feet.
- Install Water and Ice BarriersA water and ice shield or barrier is required in some locations, especially if you live somewhere with harsh winters. If you want to save money on costly water damage down the line, this step is crucial. These barriers, sometimes called ice and water underlayment, will keep water and ice from damaging the roof sheathing, and they need to be installed on roofs with 2/12, 3/12, or 4/12 pitches and around any roof’s valleys. The contractor will install the water and ice shield around the edges of the roof to protect against ice dams and water damage.
- Lay the Roofing PaperOnce the underlayment is installed, the contractor will begin laying roofing paper, overlapping toward the roof peak for protection against moisture and fire. The roofing paper is nailed or stapled to the roof sheathing at least every 12 inches.
- Add the FlashingWhen it comes to a roof, it’s all about leak protection. From the ice shield to the roofing paper to the flashing, keeping water from penetrating the roof sheathing or the interior of your home are important. Otherwise, the damage could be expensive. The contractor will nail metal flashing in the valleys of the roof and seal them with caulk for the best protection.
- Insert and Secure the VentsInstall roof vents by cutting openings in the roof decking where the vents will be placed. Ensure they’re properly aligned with the attic space for optimal ventilation. The type of vent—ridge, soffit, or static—will dictate the exact placement and method of installation. No matter the vent type, you or the expert you hired should securely fasten and seal the vent to prevent leaks. It’s crucial to install roof vents before laying down the roof materials to ensure a watertight seal around the vents and prevent the need to disrupt the new roofing later. Proper vent installation is key to maintaining attic ventilation and extending the life of the roof.
- Install the Shingles or Other MaterialWith the proper protection against the elements in place, you can finally start to see your new roof materialize as the new roofing material is installed. The contractor will start applying shingles or roof tiles at the ends of the roof, near the eaves and metal drip edge, then will work upward toward the peak of the roof.
- Cap the Roof RidgeCapping the roof ridge is an essential step to prevent water and debris from entering the roof at its peak, ensuring a weather-tight seal and protecting the structure below.This process involves covering the ridge line with specially designed shingles or cap tiles to seal and protect the peak of the roof. Unlike ridge vents, which allow for ventilation, ridge caps focus solely on providing a watertight seal. To install, start from one end of the ridge and overlap each shingle or cap, nailing them securely into place. Ensure each cap covers the nails of the previous one to prevent water intrusion, creating a continuous, weather-resistant barrier along the roof’s highest point.
- Schedule an InspectionBecause roofs are so important to our safety, you’ll need to clear up the work site and have a building inspector take a look at the completed job. With a roof inspection and sign-off of approval, your new roof is ready to shelter your household.
DIY vs. Hiring a Roofer to Replace Your Roof
If you’re on the fence about tackling this project on your own or hiring a professional, it’s likely because cost is a concern. Building your own DIY roof will cost about $2,500 to $6,300 for the replacement materials. A new roof or a roof replacement costs an average of $9,000, or around $5,700 to $12,300 if you hire a pro. About 40% of the total cost goes toward materials. This is a dangerous job that requires a lot of advanced skills, so you’ll be paying about 60% of the project total for labor. Each roofing square, which is about 100 square feet, costs $150 to $1,500 for the materials.
For the vast majority of homeowners, this project is best left to a professional. While hiring a professional roofing contractor will more than double the price of DIY, the investment is worth it.
Frequently Asked Questions
How long does it take to replace a roof?
How long a roof replacement takes depends on the size of your home, the type of roofing material you chose, and the weather. In general, a typical roof replacement will take a week or two, or an average of about 12 days. A roofing contractor will be able to do the work more quickly than someone who is doing it as a DIY project.
Is it okay to put a new roof over an old one?
Whether replacing the entire roof or just installing roof shingle replacements in small areas, always pull up the old roof shingles. While you can technically put new roof shingles (but not other roof materials) over old shingles, this can add weight strain to the roof and prevent the new shingles from securing properly to the roof.
How long does a roof last?
Roofs last about 20 to 50 years, depending on the material, quality of installation, level of maintenance, and local climate. An asphalt shingle roof tends not to last as long, about 20 years, while a metal, slate, or tile roof may last over 50 years with proper care. Many roofs last an average of 25 years.


